Well that's another month gone by and I'm almost at the end of my Easter break!? Time to update this and celebrate what I've been up to!
Firstly...Ceramics!
It's another 4 week project and here's an outline of what we're covering:
Firstly...Ceramics!
It's another 4 week project and here's an outline of what we're covering:
Week
1 – Drawing
at Wollaton Hall – to develop 2D surfaces for Ceramics
Plaster Slab and Sprig
making
Begin surface sampling
with tutor supervision
Week 2 - Make
– cup and saucer by slab building using textured wall paper, etc for surface
decoration.
Template
making for ceramic construction
Development
of surfaces.
Week 3 - Themed
making – Design and make 3 related pieces of ceramic work using your own ideas
and imagery obtained from drawing at Wollaton Hall, Nottingham. This should be
supported by 2D design and source information in sketchbook/notebook format.
Week 4 - Glaze
and finish work.
(I wish every project had been laid out like this!)
So, to start with: Week 1 –
So, to start with: Week 1 –
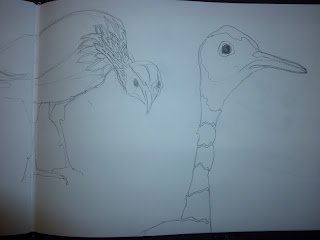
The trip to Wollaton Hall was a great way to start the project, here are my sketches from the day:
This was followed by a day of plaster slab and sprig making. We were joined by Anna Hunt (who you might remember from the Nottingham Castle Open?) She is an ex-Dec Arts student and used sprigs to make all of those little bugs for Stirring The Swarm!
 |
| what we were making today..sprig mould left, plaster slab right |
 |
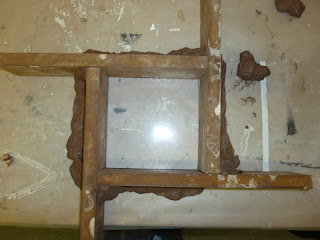
| cottling up the plaster slab |
 |
| moulding the clay for my sprig |
 |
| pouring the plaster into a pre made cottle! |
 |
| time to remove the clay...will it work? |
 |
| just! The eyes proved a bit of an issue - a bit too much of an undercut |
 |
| I attempted two more, that were flatter, and had more of an angle to them |
 |
| came out much better! I don't rate the actual aesthetics but the surface over the eye is interesting! |
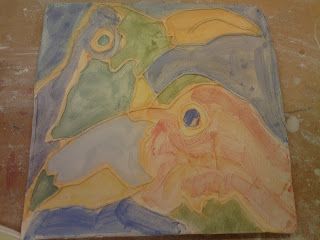
The plaster slab was for drawing into, deeper cuts than I have initially made here - the idea is to roll fresh clay over the top to create a relief. Based on my drawings I opted for this design:
After getting the clay we worked this into our sprigs and slab to create these:
 |
| Waiting on the firing shelf for their 1100c bake! |
 |
| Close up...the deeper incisions made this much more defined! |
Once fired it was a case of painting and glazing. I have no idea what these colours will turn out like but that's the exciting part (at this stage..much more frustrating later I am sure!?!)
 |
| sprig used on an example plate |
 |
| lots of painterly effects..lets see how they look once glazed and fired! |
 |
| rubbish! The beak broke and it looks horrible - tried some more colours on it though, sample, sample! |


No comments:
Post a Comment