Pages

Monday, 9 April 2012

Creating in Clay

Well that's another month gone by and I'm almost at the end of my Easter break!? Time to update this and celebrate what I've been up to!


Firstly...Ceramics! 


It's another 4 week project and here's an outline of what we're covering:

Week 1 –    Drawing at Wollaton Hall – to develop 2D surfaces for Ceramics
Plaster Slab and Sprig making
Begin surface sampling with tutor supervision

Week 2 -     Make – cup and saucer by slab building using textured wall paper, etc for surface decoration.
                  Template making for ceramic construction
                  Development of surfaces.

Week 3 -    Themed making – Design and make 3 related pieces of ceramic work using your own ideas and imagery obtained from drawing at Wollaton Hall, Nottingham. This should be supported by 2D design and source information in sketchbook/notebook format.

Week 4 -          Glaze and finish work.

(I wish every project had been laid out like this!)


So, to start with:  Week 1 –   

The trip to Wollaton Hall was a great way to start the project, here are my sketches from the day:


This was followed by a day of plaster slab and sprig making. We were joined by Anna Hunt (who you might remember from the Nottingham Castle Open?) She is an ex-Dec Arts student and used sprigs to make all of those little bugs for Stirring The Swarm!

what we were making today..sprig mould left, plaster slab right
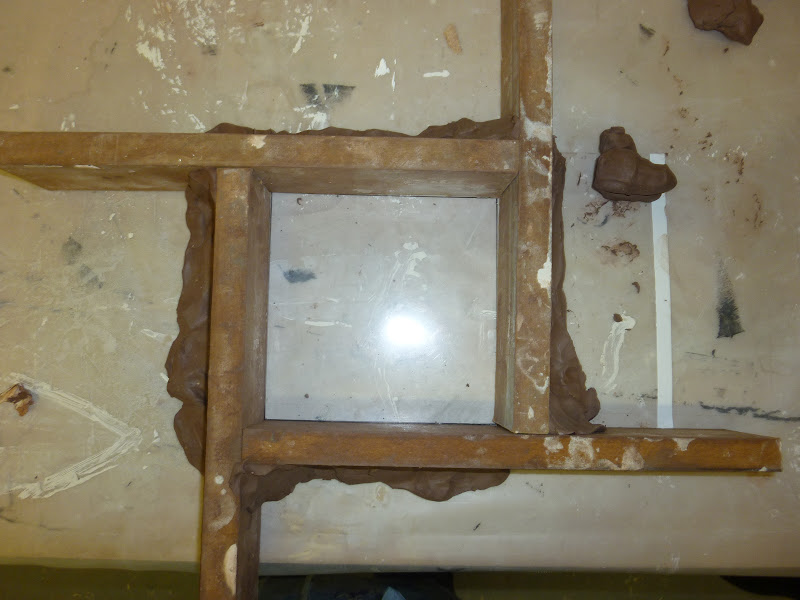
cottling up the plaster slab
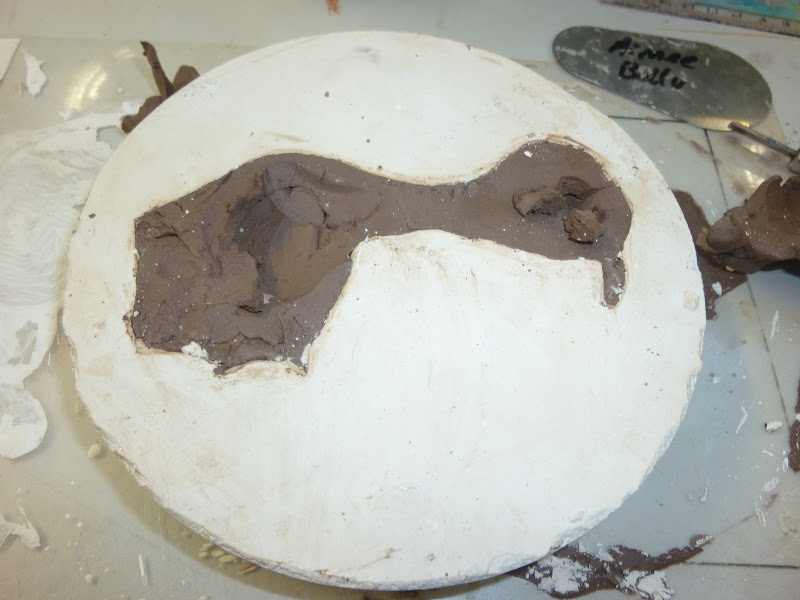
moulding the clay for my sprig
pouring the plaster into a pre made cottle!
time to remove the clay...will it work?
just! The eyes proved a bit of an issue - a bit too much of an undercut
I attempted two more, that were flatter, and had more of an angle to them
came out much better! I don't rate the actual aesthetics but the surface over the eye is interesting!
The plaster slab was for drawing into, deeper cuts than I have initially made here - the idea is to roll fresh clay over the top to create a relief. Based on my drawings I opted for this design:


After getting the clay we worked this into our sprigs and slab to create these:

Waiting on the firing shelf for their 1100c bake!
Close up...the deeper incisions made this much more defined!
Once fired it was a case of painting and glazing. I have no idea what these colours will turn out like but that's the exciting part (at this stage..much more frustrating later I am sure!?!)

sprig used on an example plate
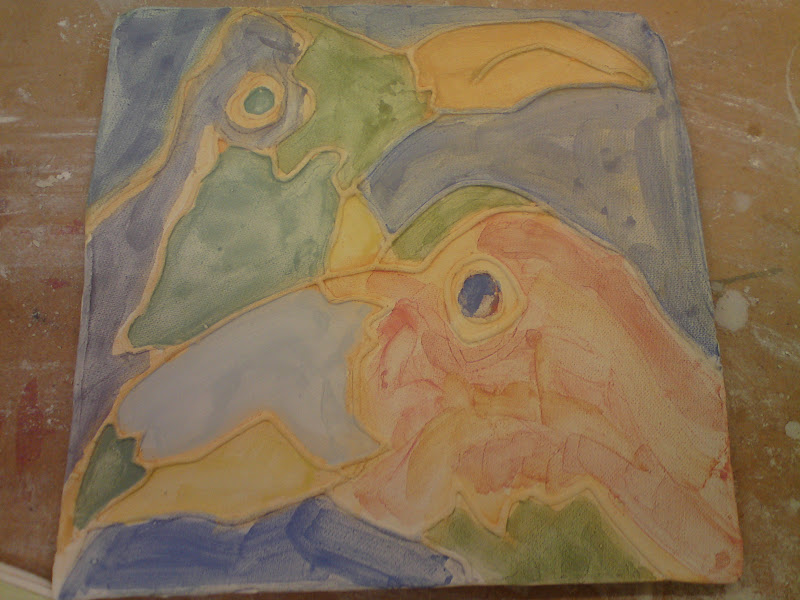
lots of painterly effects..lets see how they look once glazed and fired!
rubbish! The beak broke and it looks horrible - tried some more colours on it though, sample, sample!

Tuesday, 20 March 2012

Tile Project: How QReative Are You?

It was our presentation for the Tile Project today, here are our boards:

initial idea and development
research and trends
field tiles with underlying pattern
main tile and room visualization

We started our design process by looking at plant life and cellular structure. Through drawings, models and research we developed an interest in Quick Response (QR) code technology. This came about through looking at the work of OP artists, specifically FrancoisMorellet and his piece Aleatoric Distribution. 

Already aware of QR codes in advertising, our research from WGSN and Trend Union led us to believe in the advances of this growing technology as a influence for trends over the next 18 months. We decided to design the tile with this techno-savvy market in mind and looked into the possibilities available with QR coding.
Our research also showed that kitchens and technology are becoming ever more linked. You only need to look at the ipad store for the array of kitchen accessories in the form of tablet stands and screen covers currently available on the market.
This got us thinking about how people might want to use technology in the kitchen and so we developed the concept behind the QReative tile range; where the code would activate an app/website/food blog/recipe bank that the customer would make bespoke to themselves prior to ordering the tile. This then makes the kitchen not only the heart of the home but the heart of hyper-real activity!
Whilst considering hyper-reality, we found additional research on the ceramicist Andrew Tanner. He has developed the first augmented plate where, with smartphone capabilities, it  comes to life with animals and birds on your screen. Advertising is already running along this route, with Aurasma technology being employed to the fronts of magazines so that it can deliver videos to the customer as well as the content inside its pages. This got us thinking about how to apply further developments to the idea (of the tile) and we saw that there were endless capabilities. From developing the applications that the code scans, to applying augmented capabilities amongst a tile range, approaching schools with inbuilt educational tools or developing the capability of sound so that these tiles could translate into the bathroom and possibly service radio use.
Through our research I came across this interesting exhibition utilising mobile, internet and facebook integration:

Thursday, 15 March 2012

Digital Making

Next project!

Context:
The use of digital technology offers huge potential to those working in the decorative arts.
From research and development to  visualization and production digital technology can not only stream line production but also offers a huge range of new exciting techniques and processes to produce both 2D and 3D work.
You will be working on two project designed to equip you with the skills to develop work using a combination of 'the digital' and 'the hand'
As well as using software we will explore a whole variety of means that work can leave the screen and become 'real' using:
·      Laser cutting
·      Water jet cutting.
·       Digital embroidery.
·      Vinyl  transfers/ sand blasting
·      CNC
·      3D Printing.

Brief 1: 

From 2D to 3D

Working from a combination of images, drawings, pattern research (you may wish to develop your work from colour/print projects). We will be developing a series of 'Vector' images/patterns/plans using illustrator and 2-design applications.
You will explore the output of these 'Vectors' a variety of methods:
·      Printing/Plotting
·      Vinyl Cutting.
·      Laser Cutting.
·      Water Jet Cutting.
·      CNC.

You are now required to develop this two dimensional work into three dimensional outcomes using appropriate material techniques and processes.
Consider:
·      Hand cutting.
·      Machine cutting.
·      sand blasting
·      Folding/twisting/bending/melting/slotting etc.
Brief 2:

3D modeling and rendering

Working from a 'real object' you have produced during the year. We will be using rhinoceros to create a digital 3D model of this object.
Initially you will explore the potential of 3D digital modeling to produce virtual three dimensional forms and structure.
You will then produce a model of your chosen object and apply appropriate digital materials to it for visualization purposes. You may also experiment with digital 3D printing and production techniques:
·      3D printing
·      CNC
Finally you will 'render' your finished model and composite it into a variety of contexts which may the develop the objects meaning/aesthetic/function.

So to start all this off we've been asked to make some simple paper models/cut-outs considering:

· Cutting up hand drawn or digital Patterns and folding.
· Layering cut out patterns to form structure.
· Slotting weaving bending twisting.
· Reforming your Easter eggs boxes to new and exciting object.

Thursday, 8 March 2012

Life Drawing

Uni has been so busy this term! I'm already two projects down and only two weeks left until Easter break! I've delivered one presentation and have another one on its way..I've had little time to upload on here and feel very behind?! I've also felt very neglective of life drawing and after a chat about what's important for me and making time for those things, I took it up again last week.

As I've been saying, I want to try new approaches to mark making this year. I've signed up to a drawing holiday and recently met with the tutor, Martyn Blundell. He took a look at my portfolio and suggested I try a continuous line approach. It makes you look harder and I wasn't sure how I was going to find it (because it's easy to be lazy with a fluid sketchy line!) But I really enjoyed it and am going to stick with it for a while. It's a bit Egon Schiele (which isn't such a bad thing!?) and much like his work it becomes an economical application of line...

I'd like to practice with this for the rest of the term - then I want to play with some colour! There's not enough time in a 20 minute sketch to do this, unless I work REALLY quickly and that sort of goes against what I want out of this exercise.

So, here are my drawings from last week...

5 minute warm ups
First Pose: 20 minutes...good upper body, lower needs work..
Second Pose: 20 minutes...looking harder, but what are those feet all about!?
Third Pose: 20 minutes...head, shoulder and forearm ok - I was trying to fit it all on the page and lost it with the legs a bit
20 minute end pose - I really enjoyed this one! Perspective of legs need a little more attention but the upper body again seems solid
Conclusion: Hands and feet need practice, perspective awareness - consider and measure more acurately, try pen, think about colour and draw draw draw, more more more!

And from this week (in pen!) :

5 minute warm ups
First Pose: 20 minutes, good upper body, heavy from the tummy
Second Pose: 20 minutes: upper body good, arm a bit wonky and ill proportioned. Rest of body in better proportion but too big to fit onto the page!
Third Pose: 20 minutes with stool. A much better attempt at this pose than last week, legs in much better proportion/perspective. Arms look a bit disjointed....?
Final Pose: 20 minutes - difficult pose! upper body better than lower body but still not that great!?
Unfortunately, at the end of this session I found out that it was the last one of the year :( Gutted that I'd missed out this term, but at least I know for next year!!! I'm still going to keep a regular drawing schedule though - it makes me really happy!

Thursday, 9 February 2012

Craving for the New Extraordinary

I've been lent the book Illustration: Play 2 Craving For The New Extraordinary and as it suggests, it hosts some incredible contemporary illustrator-makers!
Craving for the New Extraordinary. A totally unique collection of works that focuses on a return to experimental and individual techniques, such as paper cutting, stitching, knitting, needlework, origami, patchwork and more. From pure and simple to hugely complex these artworks offer enormous diversity both in the skills brought to each project and the originality evident in each piece. Interviews with the artists take the viewer into the studios in which the works were created and reveal where these great talents find their inspiration. Artists featured are from all over the globe and represent many different cultures.
Here are some of my favourites from its pages:

Dan-ah Kim creating magical tales in gouche, ink and thread...


 Jennifer Khoshbin using books to manipulate, illustrate and transform...


Alli Coate making lovely illustrative textile/collage...


 Ana Ventura using wonderful papers to make her lovely and amazing dolls!


Gregory Euclide creating imaginative landscapes, I really love his capture series!


Serverija Incirauskaite Kriauneviciene is inventive with embroidery...


 Ron van der Ende is drawing * enormous * sculptures with scrap bits of wood!


Whilst Walton Creel is drawing with bullets!


All in all some really imaginative work - well worth the investment - or a quick peek!

Monday, 6 February 2012

Lean Manufacturing for Designer-makers – How to Make More for Less

This arrived in my email today from cockpitarts. I thought it was an interesting read and worth keeping on file for a later ponder!


Lean Manufacturing for Designer-makers – How to Make More for Less

by cockpitarts
Author: Nigel Rust, Business Mentor, Coach and Manufacturing Specialist
Do you spend too much time on sales processing, production, packing and despatch and not enough time being creative? Do you have the feeling that things should be easier? Or that you should be getting more out of the business?
You are not alone. In fact this can be a particular problem for designer-makers who have built up their business in a creative studio environment and are starting to win more and more orders. There comes a time in a business when improving production efficiency becomes very important.
At that point ‘lean manufacturing’ becomes highly relevant.

What is Lean Manufacturing?

Lean Manufacturing is a collection of simple techniques that can be applied to business and production processes to achieve ever increasing efficiency. They go hand-in-hand with a philosophy of ‘continuous improvement’ to help you achieve more and more as your business develops.
Lean principles and techniques are firmly rooted in common sense and ease of application. They combine the best of Western working practices with the best of Japanese efficiency to produce a powerful toolkit that has revolutionised whole industries over the last two or three decades.

Lean Techniques

There are a number of techniques that can be used to improve efficiency, several of which are directly applicable to small creative businesses. For example:
1. The 7 Wastes. This is a way of looking at day-to-day activities in your workshop and focusing on reducing the time spent doing things that are not particularly useful. Many activities can be categorised under the list of wastes below.
• Transport – carry things around too much – store cupboard to bench to cupboard to bench etc etc
• Inappropriate Processing – doing things that you could manage without • Movement – it’s difficult to get on with the job while you are running about! • Waiting – hold ups are very inefficient
• Overproduction – making more than you need (and then having to find somewhere to keep it)
• Overstocking – buying too much raw material • Defects – making rejects and having to start all over again
2. The 5 ‘S’. This is a great way of turning a slightly (or very) disorganised studio, where there is never enough space and where you can never find the scissors, into a smooth running, efficient workshop. Five basic steps – SORT – SET – SHINE – STANDARDISE – STICK TO – are used to arrange the workspace, tools etc into the most appropriate way. There are a few rules behind each step that help you to do it in the best way. This technique can make a big difference, for example, in packing and despatch. Wouldn’t it be great if you could halve the time it takes to pack and despatch things.
3. Spaghetti Diagrams This technique helps you to decide the best workshop layout. By plotting all the movement around the workshop during your normal processes it can become very apparent if your equipment, tables, storage areas etc are not in the right place. There are plenty of examples where this has saved significant time in small creative workshops – my favourite example was in a fine chocolate factory where we saved around half an hour a day per person by using a spaghetti diagram.
4. Process Analysis This one is great fun, despite the name. It uses ‘post-it’ notes to identify and focus on ways to cut out wasteful parts of a process. It is usually done by a small team and really helps everyone to realise how they can be more effective.

Continuous Improvement

One thing to remember is that you can always do better. Even after you have applied the most appropriate lean techniques for the first time, you shouldn’t stop there. Things are always changing, and you are always going to find better ways of doing things. ‘Lean’ helps you and your team to see the way you work in a different light and encourages you to come up with new and better ideas, however big or small, as you move forward. This continuous improvement is invaluable in building on your successes.

In conclusion

All these techniques have been applied in studios in the creative industries with some outstanding results. One workshop recently estimated that they had improved their productivity by at least a third.