Pages

Showing posts with label artist. Show all posts

Tuesday, 1 May 2012

Pipaluk Lake

I've just discovered the work of Pipaluk Lake via the glass quartley blog. She is a Danish artist making incredible slumped glassware and as I've been considering movement for my glass project this has really inspired me!!

Framework, 2008
from her most recent show drops

And here's a selection from her website it's just beautiful!

Centre Wave, 2007
Circular, 2006
Bundles and Fans, 2006
Ocean, 2002
Ocean, 2002
I also came across this short video of her work too:

Sunday, 6 November 2011

Lustre 2011

I went along to Lustre today and saw some very beautiful and inspiring things!


Carly Dodsley caught my eye with her lovely 50s inspired ceramics. 

I even bought this set of glass tumblers from her!
Suet Yi Yip (ex NTU Decorative Arts student!!!) had some beautiful and delicate illustrations across her range of terracotta plates.  I really loved the subject of children and storytelling in her work.

dappledsky
Steve Handley's upcycled furniture was brilliant! This is just what we need to be doing with all our old chopping boards and burnt out spoons!

I loved Ellie Evans and her ephemeral textile 'keepsakes' 

kickcanandconkers
On a similar vien, Clare Hillerby had some jewellery and collage that combines metal work with ephemera and features handwriting..


Hayley Dexter had some wonderful designs across her ceramics and prints range...Very inspiring for my upcoming print project! 
all images: keramiknotebook


really like the composition on this one!


I liked the bark vessels of Jane Bevan

sustainable, organic and interesting formations

I loved the techniques used by Nicola Lidstone to create her folklore-inspired ceramic sculptures


Kate McBride's 'collaged ceramics' are not particularly my obvious taste but I like the honesty of construction in the crude nature of the seam lines in her work

Pink Confection
Similarly, Maggie Withington's ceramics aren't really my taste, but the humourous subjects and play on words remind me of Simon Drew and there is something sort of nostalgic and appealing about the kitsch-like figures she has used to create her work

Pope-purr-i 

Craig Fellows interior and fashion textiles were bold exciting

madebyhandonline
I liked  Tamasyn Gambell's deco inspired stationery
notebooks

 I found Katie Heeks miniature gardens, made from laser-cut plywood 
and vintage textiles, playful and exciting

rainforest garden
 It was great to see Hannah Lobley's work. I'm very inspired by her use of material (books and paper) and process (wood turning!)

bricks
I love Katrin Moye's ceramics too! The vintage/folkloric-like patterns are so pleasing and "I want" worthy!

dandelion cake stand
I also really liked Rebecca Wilson's light spill ceramic wall lamps


All in all it was very inspiring visit!

Monday, 24 October 2011

Bookbinding with Heather Dewick

I went along to a Bookbinding workshop ran by Heather Dewick at Debbie Bryan's Studio. It was a great day punching, cutting, sewing and making (plus excellent chocolate brownies to keep us going!) We made a soft back medieval-type book with leather wrap around fastening.

Here's my book!
and in detail
Now lets look at the process....

we started by folding our paper...
taking an A1 sheet we folded it with the grain in half, cut it along the fold, then in half again. 
Then we slice down the fold 2/3 of the way
then folding over again we get this
an A1 sheet makes 8 of these sections
Then we're ready for marking out the cover! 

there was lots of leather to choose from...I chose a green goat skin, with complimentary brown fastening.
on the reverse of your chosen cover, place 1 of the paper sections on the front of the book cover and mark out guidelines for where you need to sew
using a ruler mark out 2 outer and 1 inner section
repeat guidelines until you have a grid
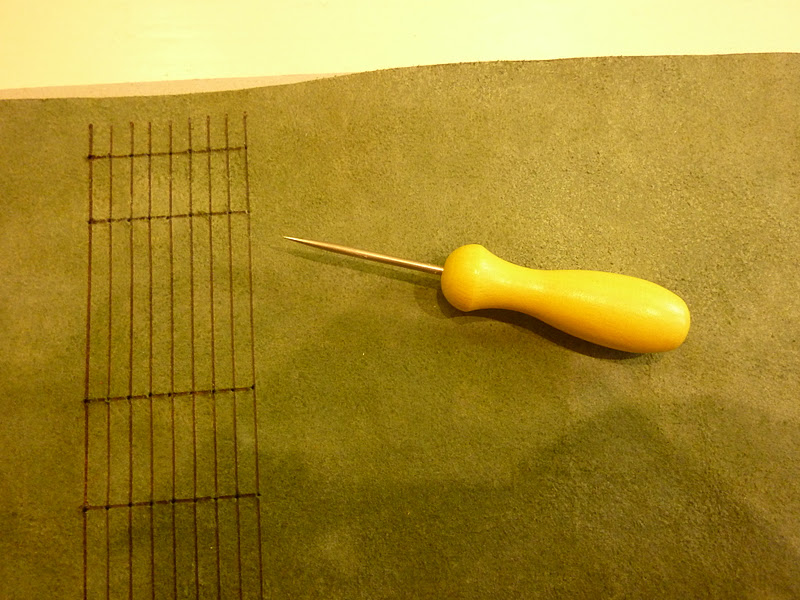
following the guides punch holes through the leather with a braddle tool, these will make it much easier to sew!
turn it over and you will have created this!
Next, mark out the equivalent holes in the pages. It can be useful to have a rule guide for this..
make sure you have all the folded 'tops' of the page sections in the same direction.
mark this side of the stack to keep you in check!
Now you're ready to get constructing!

lay your piece of leather out with what will be the front of the book facing you
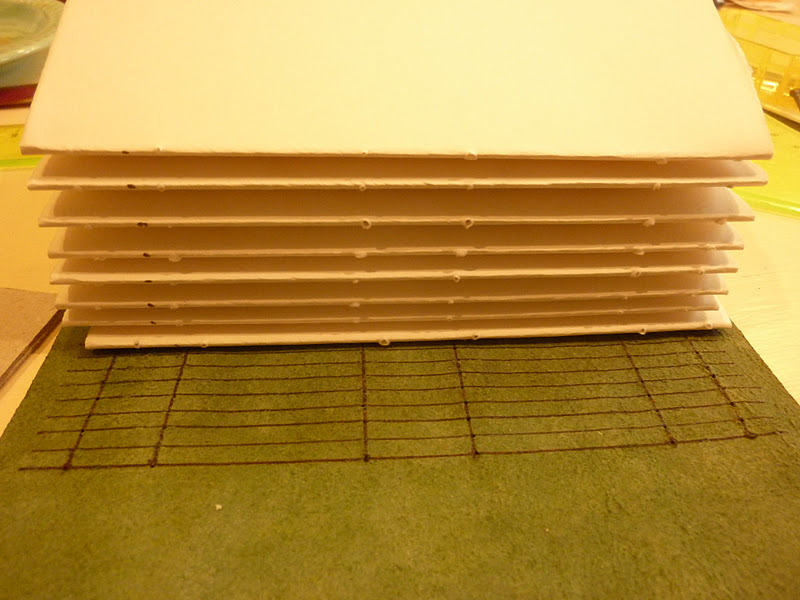
starting at the guideline furthest away, place the paper section down and sew through following the guideholes
you are looking to create this type of effect on the spine. the larger sections on this example have been woven, you can embelish, or leave plain and simple, it's up to you!
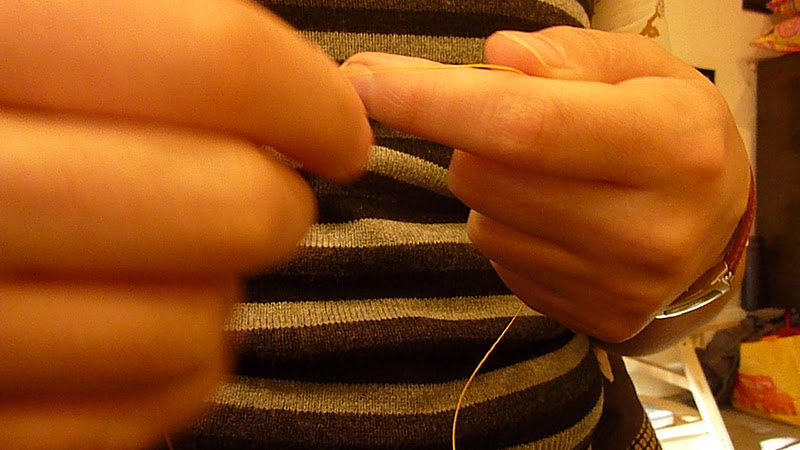
as you are sewing, you may run out of thread! To knot on to the existing thread, loop the new thread around your finger
and pull it through. Pull this tight onto the old thread and carry on sewing

Once all the page sections have been attached it's then deciding how you want your wraparound
I really liked this one of Heather's
we looked at some other examples and I thought this one was great too!
We also talked about other methods and had a go at some Japanese binding 

looking at examples I really likes the simplicity of this one
and the ingenuity of the postcards used here!
I had been collecting envelopes ever since Claire told me about a  book she'd seen once made out of them so I had a go with the Japanese bind on them here! It's a bit crude if I'm honest but to experiment with the process this worked just fine
Heather also showed us a way of folding a single sheet of paper to create a book without the need for a cover!
Heather will be part of the Open Studios event at Persistence Works in Sheffield 18th/19th/20th November. I'll be off to have a look!